Identify the brewer before removing or ordering parts
The seal is the flexible part at the end of the plunger. Before working on it, empty the brewer, let it cool and find the full model name in its instructions or purchase record. Keep any generation information too; “for AeroPress” alone is not a compatibility check.
Notice what actually moves: does the seal come away from the plunger, or does the whole plunger slide unusually easily inside the chamber? Those are different observations to report to support. Neither observation, by itself, proves that cleaning or a new seal will solve the problem.
Work with the empty, cool brewer. If the chamber or plunger is visibly cracked or distorted, stop here and ask the manufacturer which part needs attention.
Wash both sides of the removable seal
AeroPress’s seal-cleaning instructions say to remove the seal and wash it inside and out with warm water and dish soap. The seal is not glued on, so removing it for cleaning does not require dissolving an adhesive.
- Remove and wash. Take the seal off the end of the plunger without using a sharp tool to pry it free. Wash the outer surface and the underside that normally faces the plunger.
- Rinse and inspect. Rinse away the soap and look for visible splits, distortion or remaining residue. Cleaning is an opportunity to inspect the part, not a way to restore damaged material.
- Refit and check. Put it back on the plunger according to your model’s instructions. If it will not stay attached or you cannot establish the correct fit, pause and contact support; do not improvise an attachment with glue or packing material.
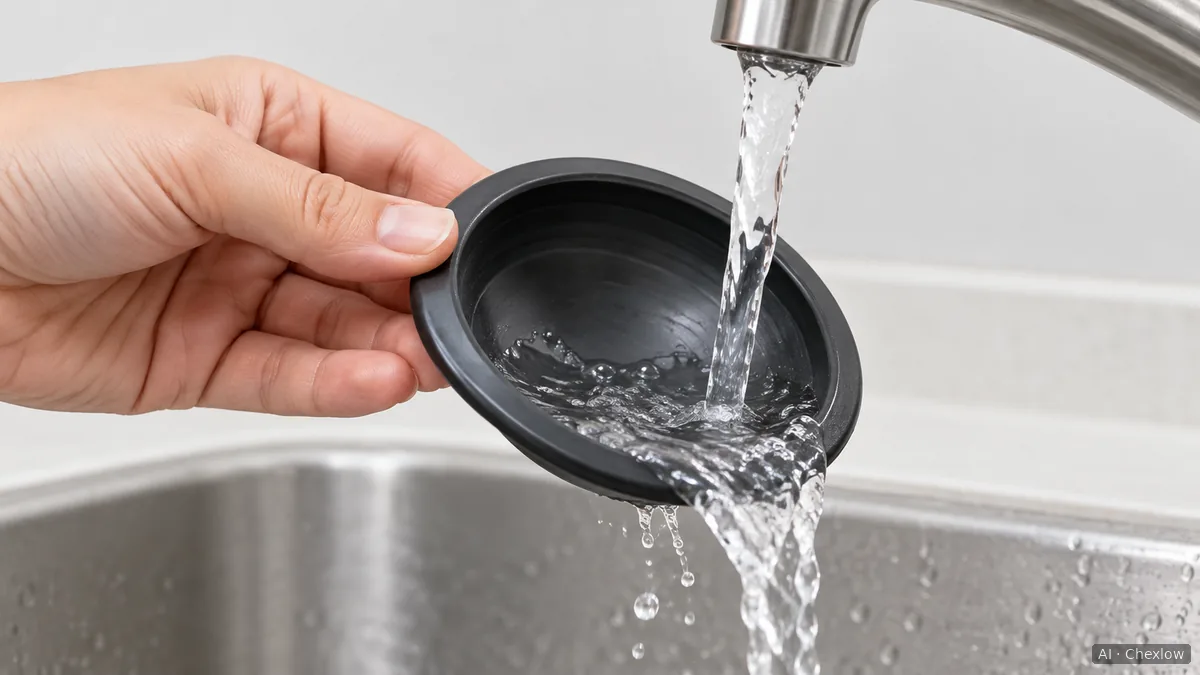
Use the dish soap you already have; this task does not call for a specialist cleaning kit. For ordinary daily use, AeroPress says a simple rinse is sufficient, with occasional removal of the seal for a thorough wash. Its guidance also identifies Premium as hand-wash only, so do not assume every model has the same dishwasher permissions.
Decide whether to replace the seal or ask for help
AeroPress confirms that the seal wears down over time. That supports replacing a worn part, but it does not supply a fixed lifespan or a pressure test for diagnosing every slipping plunger.
For this guide, use condition and fit as the decision points:
- No visible damage, and the cleaned seal refits normally. There is no reason to buy a spare solely because you removed it for washing.
- Visible damage, persistent looseness or leakage after cleaning and correct refitting. Stop brewing and check a compatible replacement seal, or ask support to distinguish seal wear from a chamber or plunger problem. Do not use hot liquid as a diagnostic test.
- A replacement also fits poorly, or the model is uncertain. Recheck the part match before buying another seal. More force is not a fitting method.
The manufacturer’s standard replacement seal lists Original, Clear, Go Plus and Go, and explicitly excludes XL and Premium. Check the exact part description against your brewer; this list does not establish compatibility for an unlisted model or generation. A seal listing and a complete plunger assembly are also different purchases.
Replacing the whole brewer is a separate decision. If that becomes necessary and you want to reconsider capacity or the brewing routine, compare AeroPress and French press for your needs.
Store it without keeping the seal compressed
AeroPress’s storage guidance says to eject the used coffee after brewing and store the brewer with the seal pushed all the way through the chamber. The stated purpose is to leave the seal free of compression.
Follow your model’s normal grounds-ejection instructions rather than leaving the seal partway inside the chamber for storage. This is a storage habit for a sound, correctly assembled brewer; it does not repair an already loose or damaged seal.
Come è stata costruita questa guida
Chexlow used AI to write this guide from AeroPress’s cleaning, storage, wear and replacement-part documentation. The inspection sequence and stop-use decisions are editorial guidance; they do not represent hands-on testing or a diagnosis of an individual brewer.
Curato dal team Chexlow · Le immagini sono illustrazioni generate dall’IA