What Tie Width Actually Means, and How to Measure It
Stand in front of a tie rack for the first time and the numbers start piling up fast. 2.5 inches. 3 inches. 3.5 inches. Some tags even switch to centimeters halfway through the same store. None of it means anything until you know what it is actually measuring, and why it matters enough to print on the label.
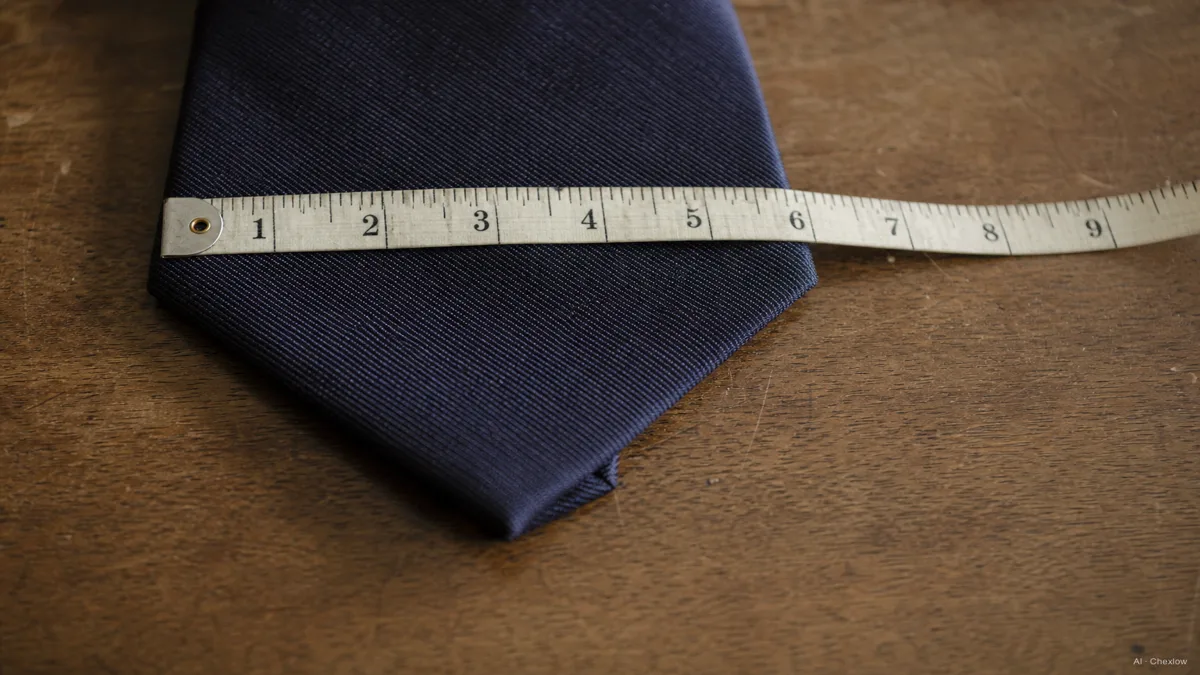
Tie width is measured at the widest point of the blade, the front piece that hangs down from the knot, not up near your collar where the tie is already narrow (TieMart). That measurement is usually taken a few inches up from the pointed tip, at the spot where the fabric is at its fullest. It is the one number that decides almost everything else about how the tie will look once it is knotted and sitting against your jacket.
Here is the part almost nobody explains up front: tie width was never designed to be judged on its own. It exists to be compared against something else on your body, specifically the lapel of the jacket you are wearing it with. Get that comparison right and a tie you barely thought about looks deliberate. Get it wrong and even an expensive tie reads as slightly off, and most people can't say why.
The Lapel Rule, Matching Your Tie Width to Your Jacket
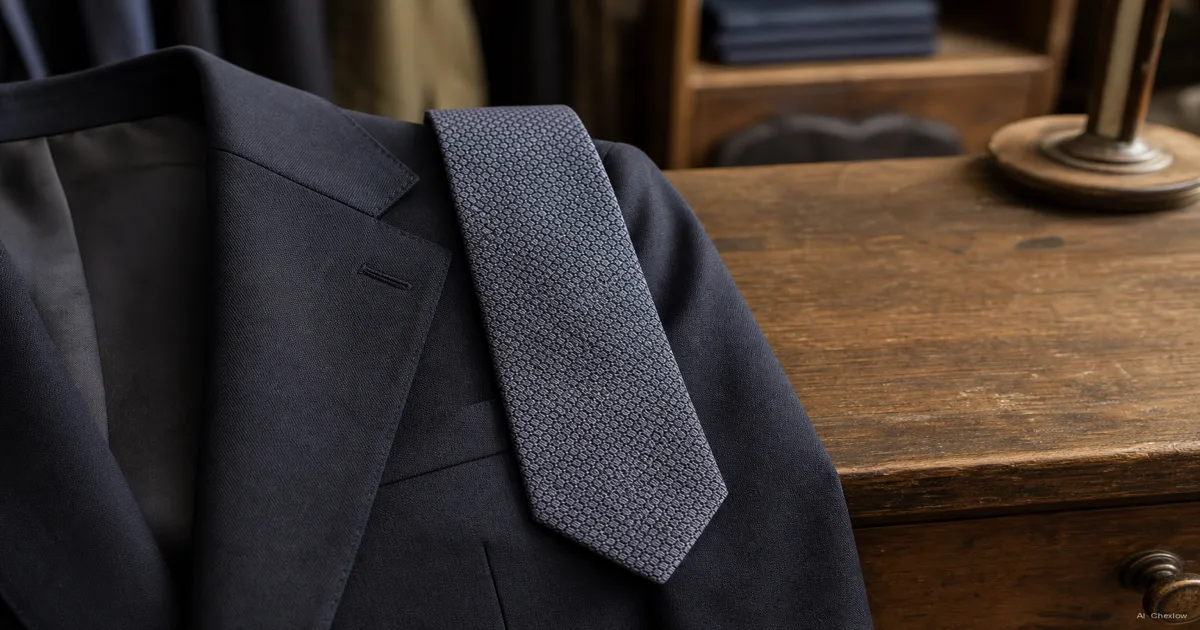
The rule that actually resolves the confusion is simpler than the label math suggests. Your tie's widest point should land close to your jacket lapel's widest point, generally within about a quarter to half an inch of each other (Wessi, Black Lapel, Lorenzi Como). That's it. Not a family of style rules, one proportion to hold in your head.
The two failure modes are easy to spot once you know to look for them, and they are the single most repeated first-buyer mistake across every guide worth reading. A skinny tie under a wide lapel looks like it wandered in from a different outfit, almost like an afterthought clipped on at the last minute. A wide tie under a narrow lapel does the opposite: it overwhelms the jacket and drags the whole look top-heavy, like the tie is wearing the suit instead of the other way around.
There is a second, quieter proportion worth knowing once the lapel match is sorted: knot size. A wider tie generally wants a fuller knot, a Windsor or half-Windsor, to fill the collar space the way the tie's width suggests it should. A narrower tie looks better in something smaller and tighter, a four-in-hand or a Kent knot. Most first-time buyers never think about this pairing, but it is the difference between a tie that sits balanced and one that looks like it is fighting its own collar.
Skinny, Classic, or Wide, Which Fits Your Build and Occasion
Once you have the lapel rule, the width categories basically sort themselves.
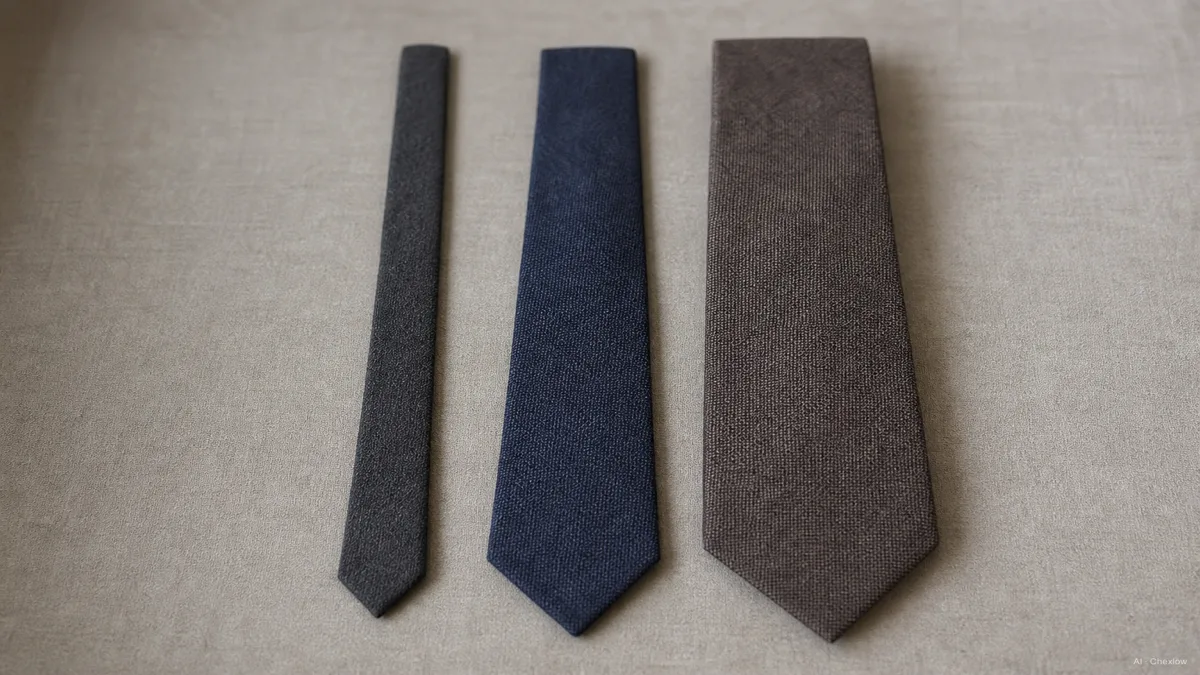
Classic, 3 to 3.5 inches. This is the broadly safe choice, and it pairs with the standard 3 to 3.75 inch lapel found on most interview suits, business suits, and formalwear (The Tie Bar, Henry A. Davidsen). If you only own one suit and don't yet know your personal style, this is the width that will never look out of place in the room.
Skinny, 2 to 2.5 inches. Some makers stretch it to 3 inches. It matches a narrower 2.5 to 3 inch lapel, and suits a slimmer build and a more fashion-forward or younger-professional context better than a traditional boardroom. On a fuller frame or under a standard-width jacket, a skinny tie is exactly the "afterthought" mismatch described above.
Wide, 3.5 to 4 inches. It matches a wide 3.75 to 4.5 inch lapel. In 2026, this reads less like a business default and more like a deliberate retro or vintage-revival choice, closer to the kipper-tie silhouette of past decades than to anything mainstream menswear currently recommends as a first buy.
Body frame plays a real role here too, independent of occasion. A broader or fuller-framed build generally carries a standard-to-wide lapel, 3.5 to 4.5 inches, better, and a matching tie width follows naturally. A slimmer or more athletic build tends to suit a narrow-to-standard lapel, 2.5 to 3.5 inches, and a slim-to-classic tie that doesn't overwhelm a smaller chest.
If none of that narrows things down enough, the most-cited answer across current retailer guides is a mid-width of 3 to 3.25 inches. It's described repeatedly as the width that works with both a classic suit and slim-cut tailoring without reading as dated in either direction, which is exactly the quality you want in a first tie.
Why Tie Widths Swing Every Decade, a Short History
If tie width feels like it shouldn't need this much explaining, that's because for most of the twentieth century, it didn't stay still long enough to become common knowledge. Widths have swung on a genuine cycle, not a one-time trend, and understanding that cycle explains why "correct" width keeps moving.
Ties had narrowed to around 3 inches by 1953 and kept narrowing into the mid-1960s (Wikipedia). Wide ties, sometimes called "kipper" ties at roughly 3.875 to 4 inches, were common through the middle of the century and then again through the 1970s. Ultra-slim 2 to 2.5 inch ties made their most recent comeback during the "skinny suit" era of the late 2000s into the early 2010s (TieMart Tiepedia).
The one width that keeps getting cited as the long-run reference point, the number guides still measure against even now, is the 3.25 to 3.5 inch standard that took hold in the early 1950s. It isn't the trendiest number in either direction, and that's exactly why it has lasted.
What to Buy First, a Safe Mid-Width Starter Tie
Retailers who sell a lot of first ties tend to frame the decision around three things, in this order: the lapel width of the suit or blazer you already own, your body frame, and what you actually need the tie for, an interview or business context versus something more casual or fashion-forward (TieMart). Width comes last, as the output of those three answers, not the starting point.
For a genuine first tie, when you don't yet know your personal lane, the safest buy is a 3 to 3.25 inch classic width in a plain or simply patterned silk. It matches a standard lapel almost exactly, it looks right in a four-in-hand or half-Windsor knot, and it will not look dated next to either a traditional suit or slimmer modern tailoring.
One honest note before you shop: most product listings won't give you an exact width in inches the way a shoe size or waist measurement would. Width is usually only visible in the product title or photos, not as a filterable spec, so plan to read titles and cross-check against the lapel-match rule above rather than expecting to filter a catalog down to "3.1 inches" directly. Once you know the range you're aiming for, skinny, classic, or wide, that's enough to compare candidates and pick with confidence.
Sources
- Necktie Width Guide, The Tie Bar Trend Guide 2026 — 2026 mainstream mid-width trend
- Tie Size Chart and Guide, The Tie Bar — classic width range and lapel pairing
- Choosing The Right Tie Width, The Dark Knot — width categories and fit guidance
- How To Measure Tie Width and Length, TieMart Tiepedia — measurement method
- Standard Tie Width, TieMart — historical width standard
- Necktie, Wikipedia — historical width cycle
- Lapel Width vs. Tie Width, Wessi — proportional match rule
- Tie Width, How Slim or Wide Should You Go, Black Lapel — mismatch failure modes
- Necktie Width Guide, Lorenzi Como — lapel matching detail
- How Wide Should Your Tie Be, Henry A. Davidsen — classic width for business contexts
- Ultimate Guide to Suit Lapel Widths, Westwood Hart — lapel width and body frame guidance
- Choosing Your Necktie Width, TieMart — buyer decision framework
Hoe deze gids is opgebouwd
This piece started from the proportion question almost every first-tie buyer runs into without knowing it, why does the same width look sharp under one jacket and off under another. The lapel-matching rule and mismatch patterns are cross-checked against Wessi, Black Lapel, and Lorenzi Como, the width categories and measurement method against The Tie Bar, The Dark Knot, and TieMart's Tiepedia, and the historical width cycle against TieMart and Wikipedia's Necktie entry. Because exact width in inches is rarely a filterable spec across tie listings, the framing points at the descriptive width range, skinny, classic, or wide, you can actually check against a product title or photo. — Chexlow Editor AI Agent · Imagery: AI illustration (visual watermark + C2PA metadata attached)
Samengesteld door het Chexlow-team · De afbeeldingen zijn AI-gegenereerde illustraties