Check the insert’s instructions first
Being removable is not permission to soak an insole or put it in a washing machine. Check the shoe’s instructions and, if you fitted a replacement insert, that insert’s own instructions too.
Nike’s general cleaning guide says to remove insoles before washing them and let them dry before putting them back. Treat that as general sneaker guidance, not approval for every insert material or construction.
- If the insert’s instructions permit hand cleaning, use the specified cleaner, water temperature and rinsing method.
- If they specify wiping only, keep to that method rather than adding a soak.
- If removal or cleaning instructions are unclear, ask the maker first. Leave an insert that appears bonded or resists removal in place rather than pulling harder.
This guide covers ordinary removable shoe inserts. Follow the prescribing provider’s instructions for custom medical orthotics.
Clean only by the permitted method
For an insert whose instructions allow this approach, Nike’s running-shoe guide describes applying cleaning solution with a gentle brush, rinsing, and leaving the insert out to dry thoroughly. Its mild solution uses warm water and a small amount of mild laundry detergent or dish soap; your insert’s instructions take priority.
A clean, soft-bristled shoe-cleaning brush can help with this permitted brushing step. Use a suitable brush you already own; buying a kit is unnecessary. Do not substitute a stiff scrubbing brush simply to remove a remaining mark.
Keep instructions for different components separate. The machine-washing option in Nike’s running-shoe article appears under shoelaces; it is not permission to put insoles through that cycle. Likewise, do not turn this hand-cleaning example into a universal soaking recipe.
Dry the shoe and insert separately
Leave the cleaned insert out while the shoe dries. Nike’s drying guide recommends loosening or removing the laces, opening the shoe, and using a dry, ventilated indoor area away from direct sunlight. It also warns that high heat can damage shoe glue.
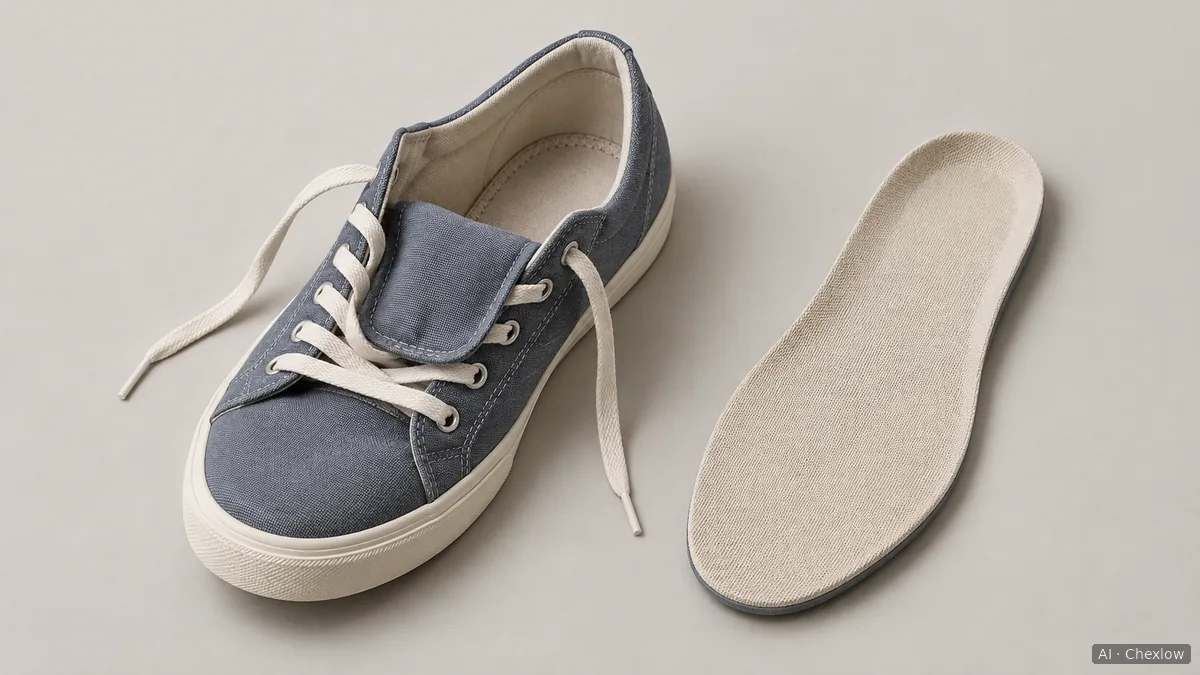
Use room-temperature air drying unless the exact product requires another method. Keep the insert beside the shoe rather than putting it back just because its upper surface looks dry.
Drying time varies with moisture, so a timer cannot settle the decision. If you need footwear while this pair is drying, start with another suitable pair you own; the sneaker rotation guide helps you organise that without automatically buying more shoes.
Check both parts before putting them together
Here is a practical inspection sequence, not a manufacturer-certified moisture test:
- Check the insert separately. With clean, dry fingers, inspect both faces, the heel and the edges for remaining dampness.
- Check inside the shoe. With the insert still out, feel the accessible lining and the surface beneath the insert, including the toe area as far as you can reach without forcing the shoe.
- Wait if either part is damp or uncertain. Leave them apart and check again later. A dry-looking upper or a fresher smell does not replace this check.
Once both parts are dry, return each insert to its original shoe and orientation. Check that it lies as it did before, without a folded edge or a curled toe end. If it no longer lies properly, or layers are lifting or torn, stop and ask the maker about the next step rather than forcing it flat or washing it again.
Cómo se elaboró esta guía
Written by AI for Chexlow, using three Nike product-care articles. This guide distinguishes general manufacturer advice from our practical inspection sequence and does not claim original product testing or approval for every removable insert.
Editado por el equipo de Chexlow · Las imágenes son ilustraciones generadas por IA