Find the cleaning instructions for your exact model
Before removing anything, identify the model and find its cleaning and reassembly instructions. This guide focuses on an owned burr grinder, whose burrs are the surfaces that grind the beans; it does not provide a dismantling procedure for every grinder or a bean-to-cup machine.
Empty the hopper, the container that holds the beans, as your manual directs. If the manual includes running out remaining beans, do that with the grinder fully assembled, then switch off and unplug before opening it. Do not try to force a blocked grinder through that step. Breville specifies unplugging before internal cleaning.
Remove only the parts identified for user cleaning. Even within one brand, the removable burr can differ: Baratza’s guidance distinguishes the Sette’s lower burr from its upper-burr removal instruction. A video showing a similar-looking grinder is not enough to choose your removal sequence.
Separate dry brushing from permitted washing
Put the removable parts on a clean, dry surface and keep anything approved for washing separate from the burrs and motor housing. For example, Baratza allows washing its hopper and grounds bin with warm soapy water, followed by thorough drying. That instruction does not extend to the whole grinder or every other model.
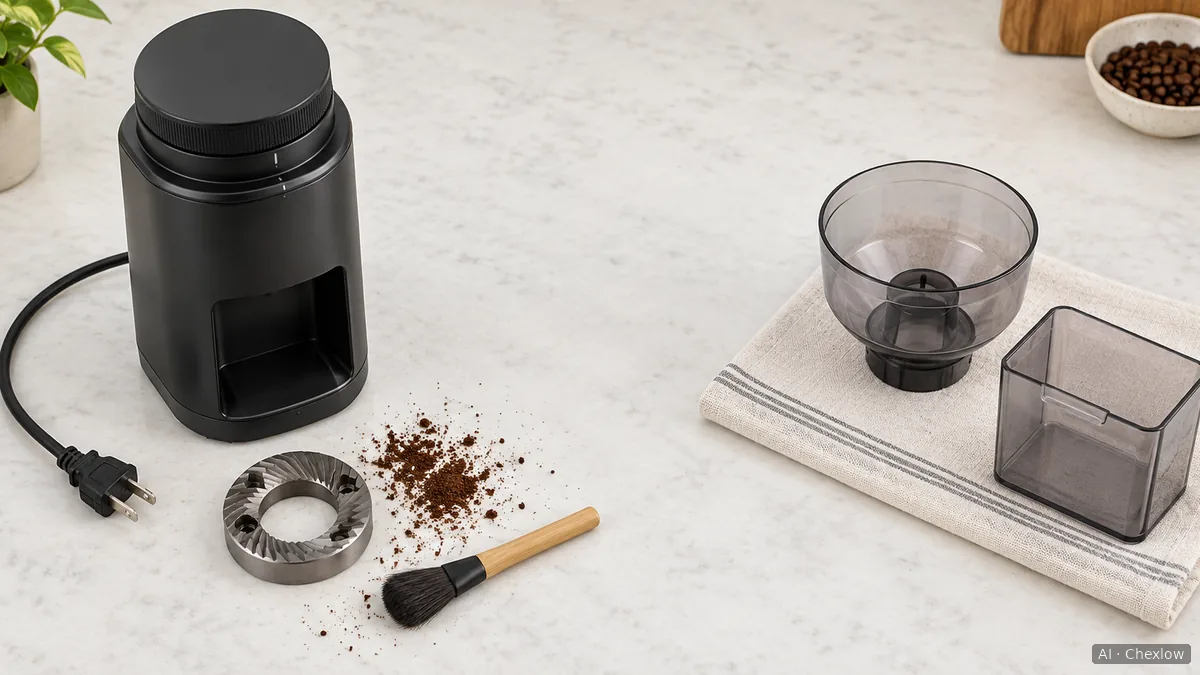
The illustration shows how to keep the parts separate, not how to dismantle a particular model or which parts your machine permits washing.
- Brush the accessible grounds out. Use the supplied brush or a suitable soft coffee-grinder cleaning brush. Breville describes soft brushing for larger particles and coffee dust; a suitable brush you already own is enough.
- Check the outlet as well as the burr area. Baratza includes both the burr chamber and exit chute in its cleaning guidance. Follow your model’s access instructions rather than pushing an improvised tool into an unseen passage.
- Keep water within the manual’s limits. Breville warns against immersing an electrical appliance and against soaking or machine-washing burrs and blades. Its general article also describes damp wiping, so it is not a universal dry-only rule; where your model specifies dry cleaning, keep those parts dry.
If you cannot identify a permitted cleaning method for a part, leave it unwashed and ask the manufacturer. Do not assume that a removable part is washable.
Decide whether a cleaner is useful and compatible
A brush handles the loose grounds you can reach. Baratza presents grinder-cleaning tablets as optional maintenance to absorb oils, so buying a cleaner is not a prerequisite for every cleaning session.
For a compatible grinder, Urnex describes Grindz as removing coffee oils and particles from burrs and casings without disassembly. The same page explicitly excludes integrated grinders in superautomatic machines. Do not put ordinary Grindz into a bean-to-cup machine just because it contains burrs.
Before buying, check the exact cleaner name against your grinder manufacturer’s instructions. Then follow the cleaner’s dose, operating sequence and instructions for clearing the cleaner afterward. If compatibility is unclear, ask before using it. A cleaner’s food-safe description does not establish permission for every machine.
Do not substitute rice in a burr grinder: Breville warns that it can damage the machinery and may void the warranty. Keep grinder cleaning separate from choosing a replacement burr; this guide makes no universal burr-life or replacement-interval claim.
Reassemble, check operation and choose the next step
Before reconnecting power, confirm that every cleaned part is dry and that the removable burr, hopper and other user-removable parts are seated as the manual specifies. Breville requires complete drying before reassembly. Follow the model’s restart procedure and record whether the original problem remains.
If grinding returns to normal, continue using the machine. Avoid feeding the removed grounds back through it: Baratza advises against re-grinding coffee as part of clog prevention.
If a part is damaged, will not seat properly or the blockage persists after the permitted cleaning, stop and contact the manufacturer with the model, symptoms and cleaning steps already completed. Ask whether the issue needs further user maintenance, a specific replacement part or service. Do not diagnose worn burrs from the amount of retained coffee alone, and do not open the motor housing to investigate.
If you ultimately decide to replace the machine, or identify a grind-adjustment limitation that cleaning cannot address, use the burr-versus-blade grinder guide to define the capability you need before shopping.
Comment ce guide a été conçu
This guide was written by Chexlow’s AI using Baratza and Breville cleaning guidance and Urnex’s Grindz compatibility information. It organizes user-service cleaning decisions; it does not report hands-on testing, diagnose burr wear or replace the instructions for your exact model.
Rédigé par l’équipe Chexlow · Les images sont des illustrations générées par IA